How to aim a flexo print at a characterisation data set
To aim flexo at a characterisation data set, print a fingerprint on the production anilox, impression, and material, then build the curve from the measured dots. Change the anilox or the impression and that fingerprint is void. Do not drop an offset curve onto film.

To aim flexo at a characterisation data set, print a fingerprint on the production anilox, impression, and material, then build the curve from the measured dots. Change the anilox or the impression and that fingerprint is void. Do not drop an offset curve onto film.
The fingerprint measures this set of conditions
Characterisation data describes “printing like this yields these colours.” Flexo results depend on anilox volume, tape, and impression. So the test chart is printed on the press that will run, the roll that will run, the material that will run, at production impression. A curve from a proofing press with a light kiss will fill in on the production press.
After measurement, the curve’s job is to pull printed tone toward that data set. It does not replace a difference in paper white or film white. Material changed: look at the white point first. If it does not match, do not only edit the curve.
When to redo
| What changed | Old curve | Action |
|---|---|---|
| Anilox or volume | Cannot use | Reprint the fingerprint |
| Impression or tape | Cannot use | Reprint the fingerprint |
| Only a new bucket of the same formula | Check solids first | Solids match, then look at midtone |
| Paper to film | Cannot use | Redo on the new material |
When you record, write
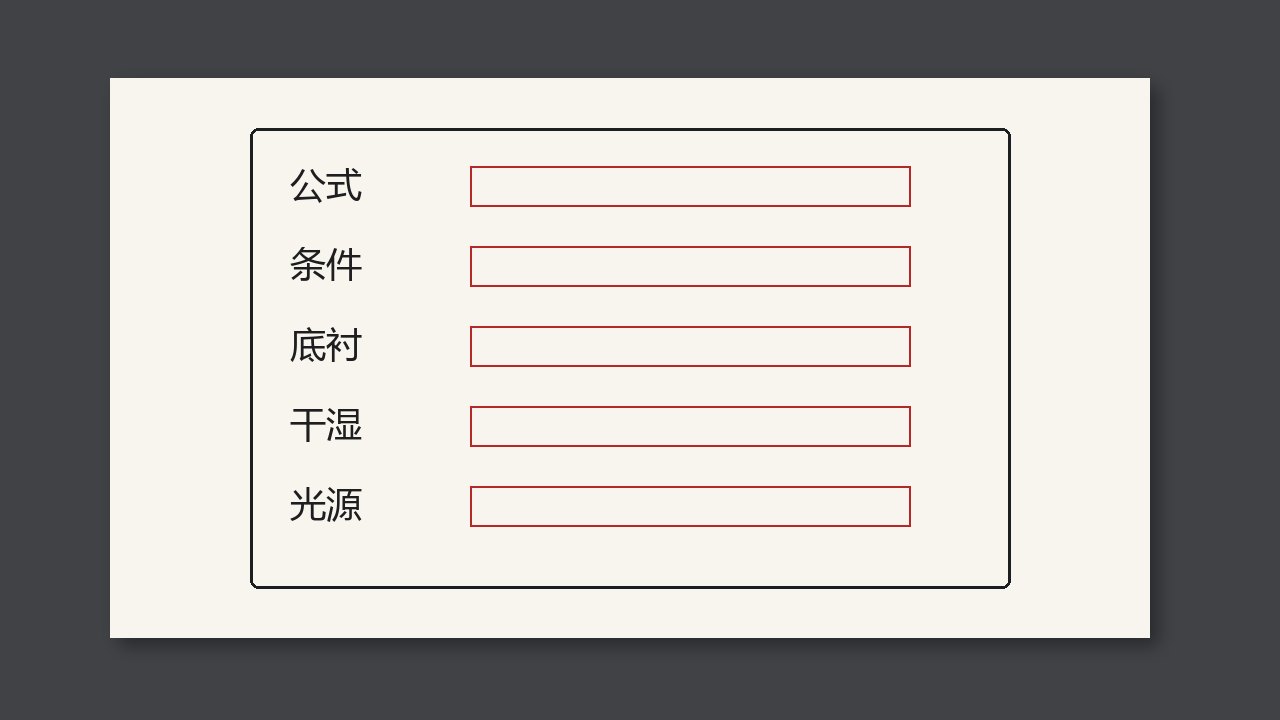
- Roll number, volume, material, and impression.
- Curve file name and test date together.
- After a roll change, mark the old curve out of service.